


Weebly
Weebly is a free website builder offering customizable designs to grow your business. Integrating LiveAgent allows you to add live chat buttons to Weebly sites ...
1 min read
Wix is a website builder offering templates and widgets. Integrating LiveAgent with Wix lets businesses add live chat buttons for improved customer support, enhancing interaction and satisfaction.
Wix is a DIY template website builder with AI capabilities. It’s free to use by anyone and it offers paid plans for customers who want to take their webpage to the next level. Wix has a large number of built-in themes, templates, and widgets, and it can help you build a website that suits your target audience. It offers almost everything you can think of from design elements, menus, and blog spaces, to contact forms and more.
Start your free trial today and see results within days.
LiveAgent’s Wix integration enables you to place live chat buttons on your Wix websites. Live chat is a great way for your customers to get in touch with the business, ask questions, get information and solve problems they might encounter while buying or using a product.
Having great customer support can make customers happier, increase customer satisfaction, and improve the customer experience. All it takes is a single chat button on your website.
If you want to place LiveAgent’s chat buttons on your Wix website, please follow the integration guide below.
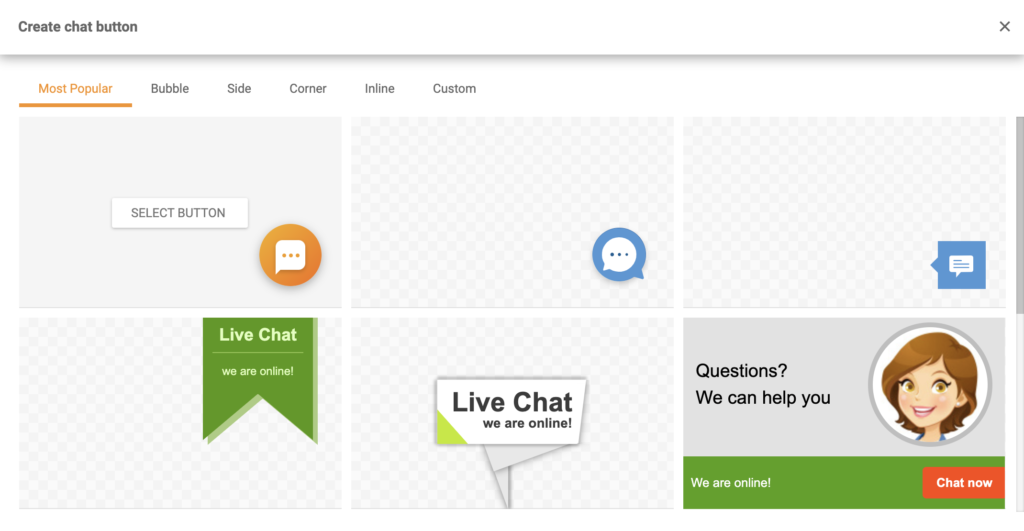
Step 1: Create a chat button in LiveAgent
First, you need to have a button created in your LiveAgent dashboard so you can get its integration code. Open your dashboard and go to Configuration > Chat > Chat Buttons. Click on the orange Create button at the top of the section and choose a design you like. You can also add a custom chat button design if you prefer it using the Custom section.
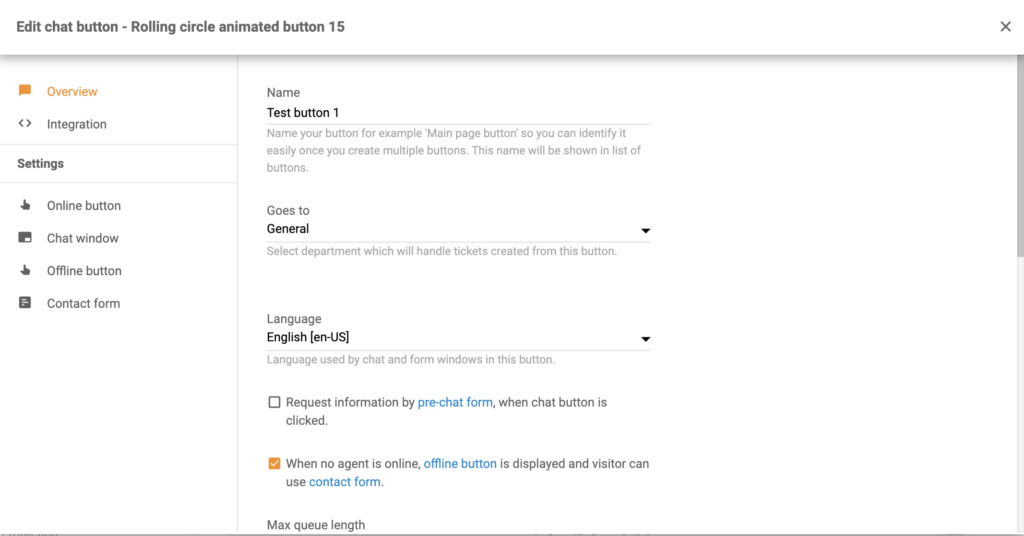
Step 2: Configure the button
Then configure the button. Choose a name for it, select the department you want to route the chats to, the queue length, and other options. Click Save when you’re done or Preview and Test the button first. After that click on the Integration section in the left panel. Copy the button code.
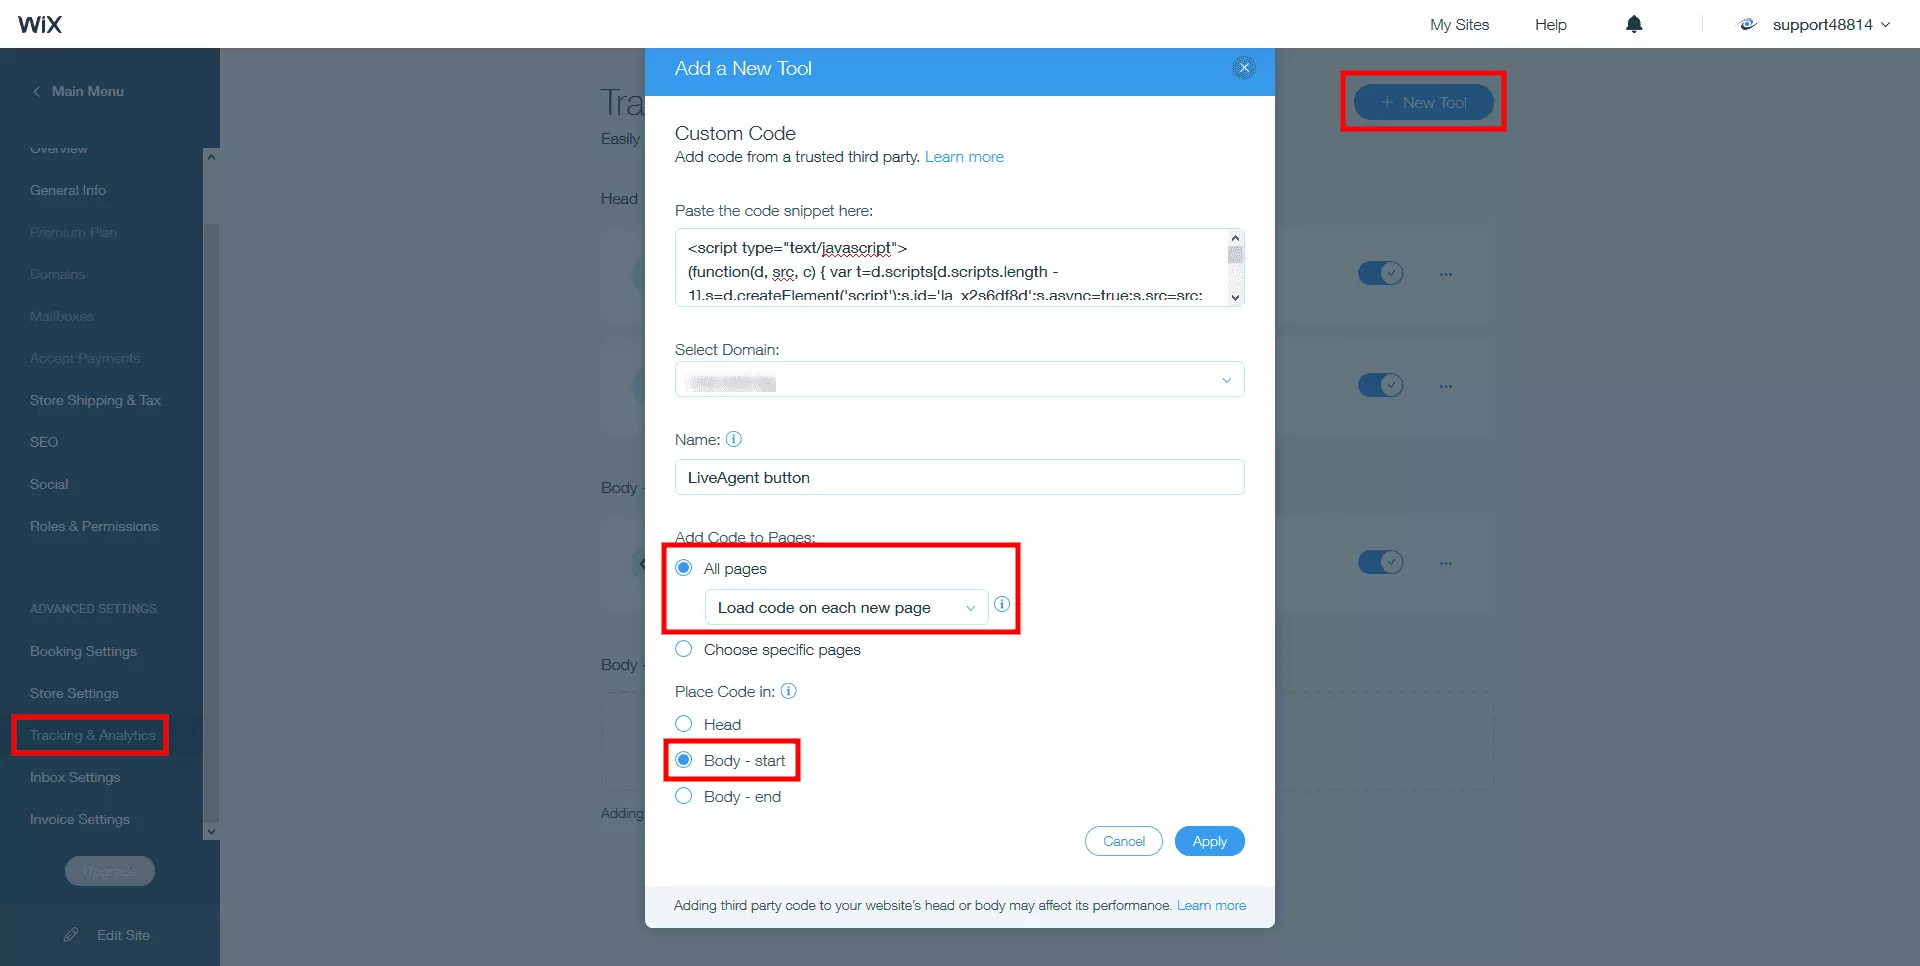
Step 3: Add code to your Wix website
Once you have the code you can log in to your Wix dashboard and navigate to Settings > Advanced > Custom Code. Paste your button code into the “Paste the code snippet here: " field. Select All pages under Add Code to Pages. Under the drop-down menu pick Load code on each new page. Select Body – start under the Place Code in the section as displayed below:
The latest tips and deals delivered straight to your inbox.
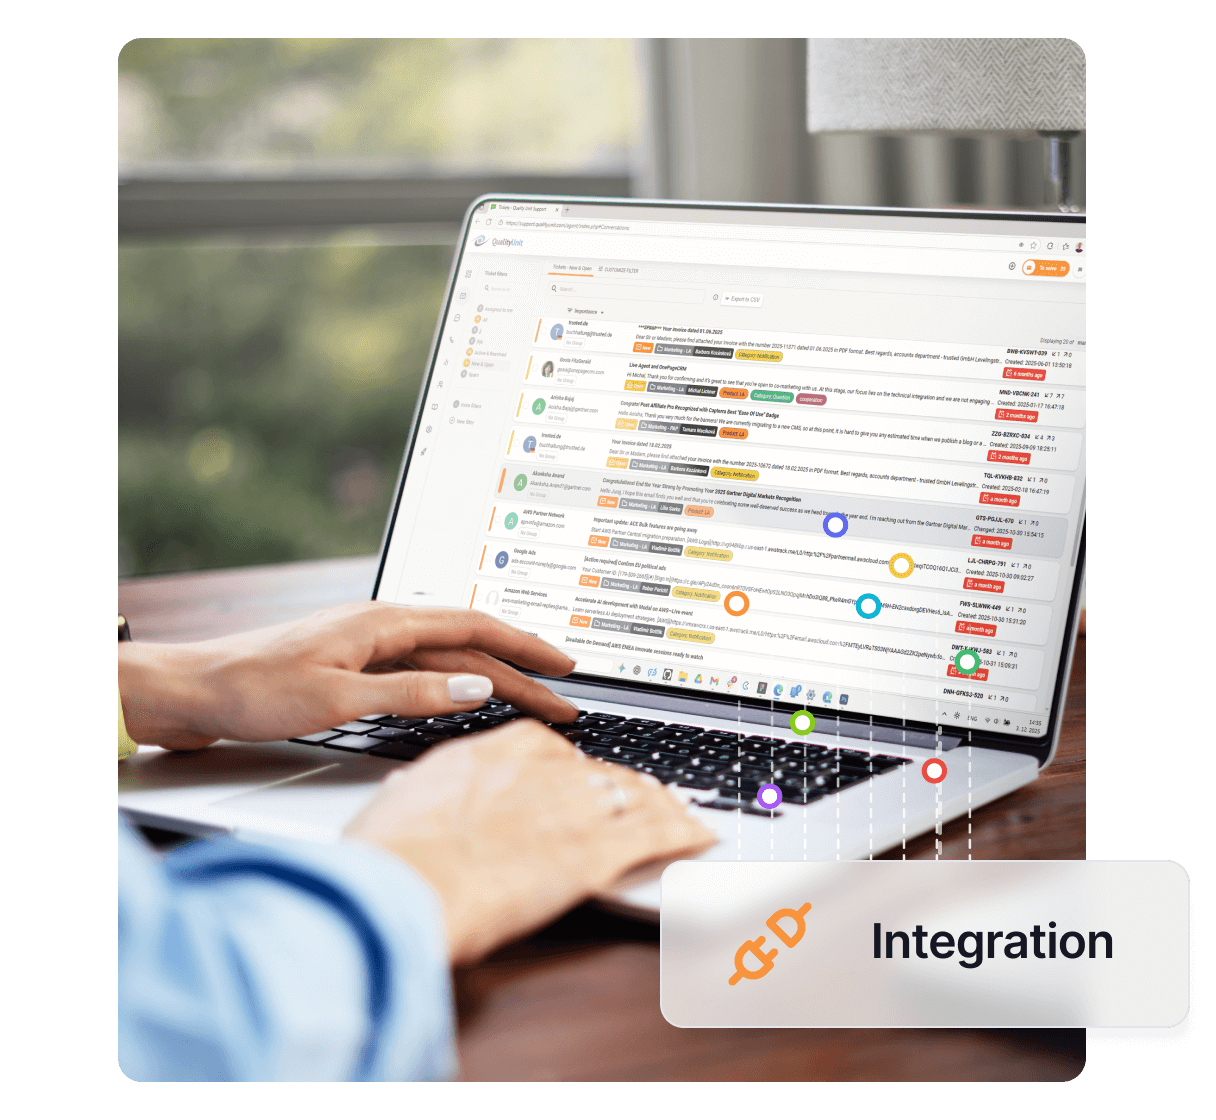
Some customer integrations can be also handled via Zapier. It’s a third-party service that uses triggers and actions to create an integration between two apps of your choice. You will need a Zapier account to do this.
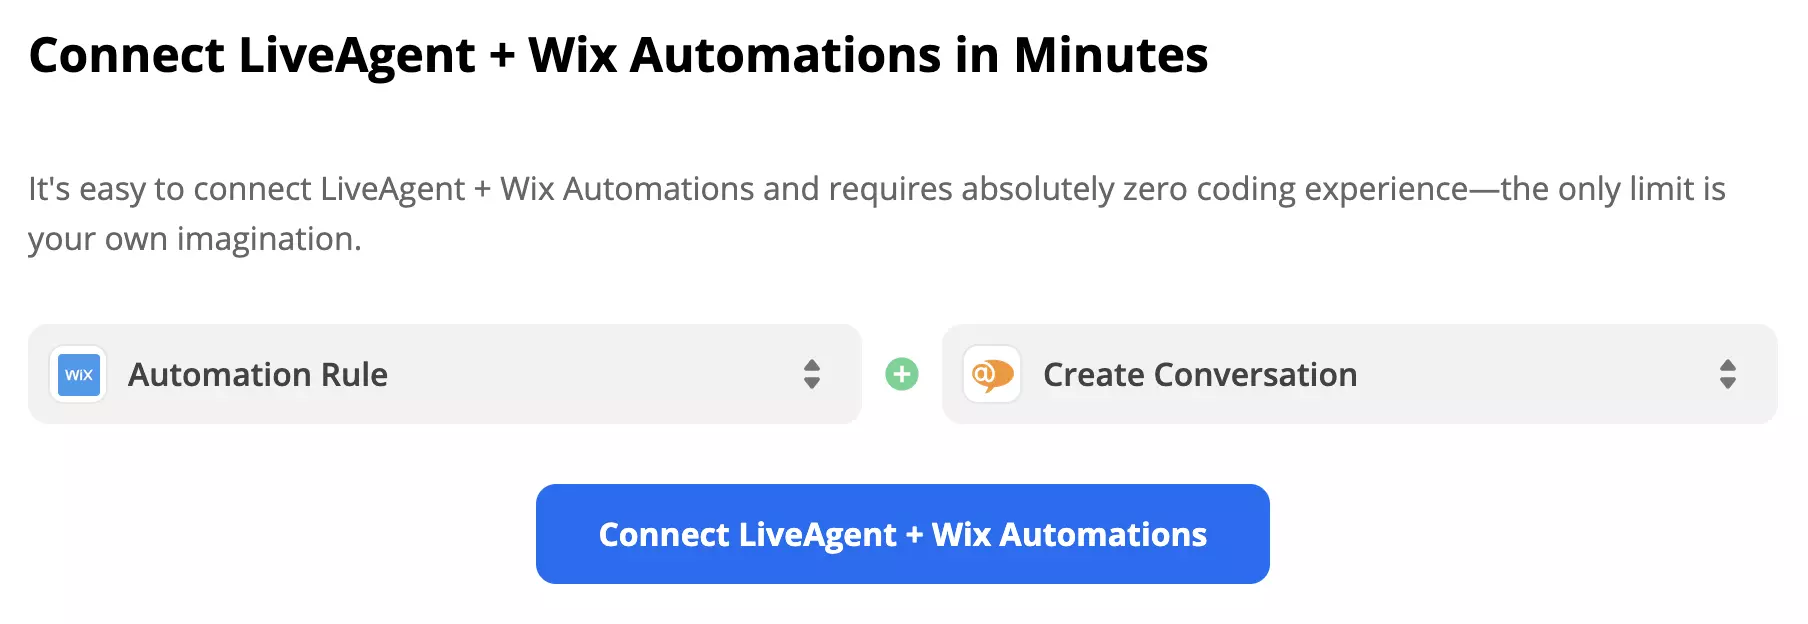
Since there are multiple options, this guide might differ from your integration setup but the process stays the same in general and it’s fairly easy to complete it on your own. We picked the Wix trigger Automation Rule and the LiveAgent action Create Conversation.
Step 1: Select trigger and action
Scroll down to the section “trigger and action selection” and have a look at the options. You can pair multiple triggers and action options from the list, so consider what you want your integration to do and take a pick. Then click on the blue continue button.
Step 2: Connect your Wix account
In the first part of the setup, you need to connect your Wix account with Zapier and in our case also choose which Automation Rule will be the trigger for this integration. This part also includes a trigger test to see if Zapier got access to the data to make it work.
Step 3: Configure the action
The second part of the setup is about configuring the action. In the case of our integration, we have to fill out fields that represent the message contents such as the subject, sender, recipient email addresses, and message body. There are also a few non-required fields for extra information.
Step 4: Test the integration
The last step is a test of the integration. Don’t forget to turn on the Zap when you get a success message.
No problem! LiveAgent offers a 30-day free trial where you can test the free Wix integration!
Weebly is a free website builder offering customizable designs to grow your business. Integrating LiveAgent allows you to add live chat buttons to Weebly sites ...

LiveAgent's live chat software enhances customer service with real-time communication, customizable chat buttons, proactive invitations, and integration with ex...
Integrate LiveAgent's live chat into your WordPress site to enhance customer support and satisfaction. Follow simple steps to install the plugin, create a chat ...
Join our community of happy clients and provide excellent customer support with LiveAgent.
Cookie Consent
We use cookies to enhance your browsing experience and analyze our traffic. See our privacy policy.