
Webflow
Integrate LiveAgent's live chat into your Webflow site for real-time customer support, boosting sales. Webflow is a no-code platform for responsive sites. Easil...
4 min read

Shopify integration with LiveAgent enhances e-commerce support with live chat, phone support, and customer order management. Boost engagement and satisfaction while saving time and money.
Shopify is an eCommerce platform that’s used to create online stores that sell products and services. Shopify is equipped with tons of standout features including drop-shipping, product marketing, different types of payment options, and customer engagement tools. With Shopify, you can easily set up your new e-store and start selling your products or services.
Shopify is a platform that every entrepreneur should be using because it’s so easy to navigate and use. With Shopify, you can save time and money, and relay your focus on other aspects of your business.
You can use the Shopify integration to provide quick and efficient support to your customers or clients. With LiveAgent, you can keep track of your customer support emails, provide phone support, and also place a real-time live chat button with a preset design on your webpage.
Having a live chat button on your store’s website is beneficial because it’s a hassle-free communication option that your customers can use to contact you about product information, any issues, and more. This can greatly improve customer engagement and also customer satisfaction.
If you want to place a LiveAgent live chat button on your website, follow this simple guide.
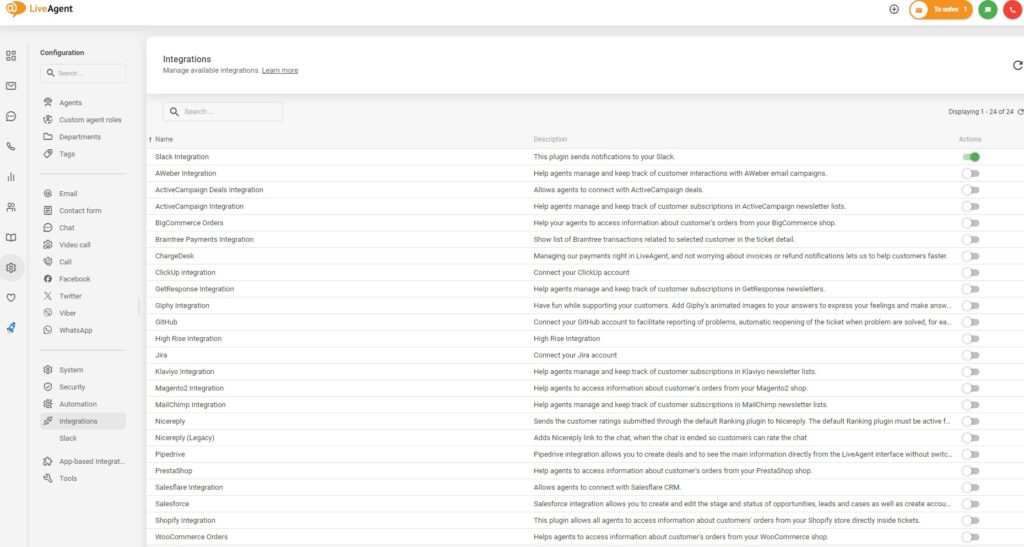
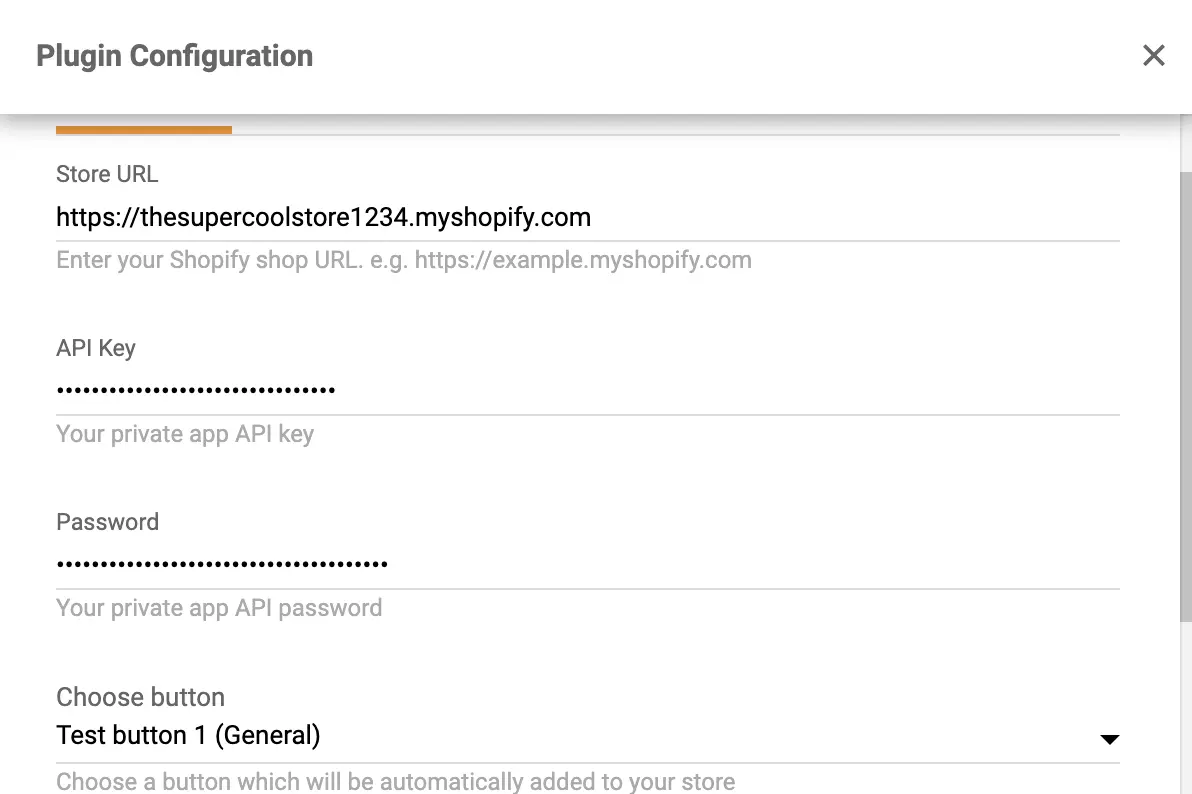
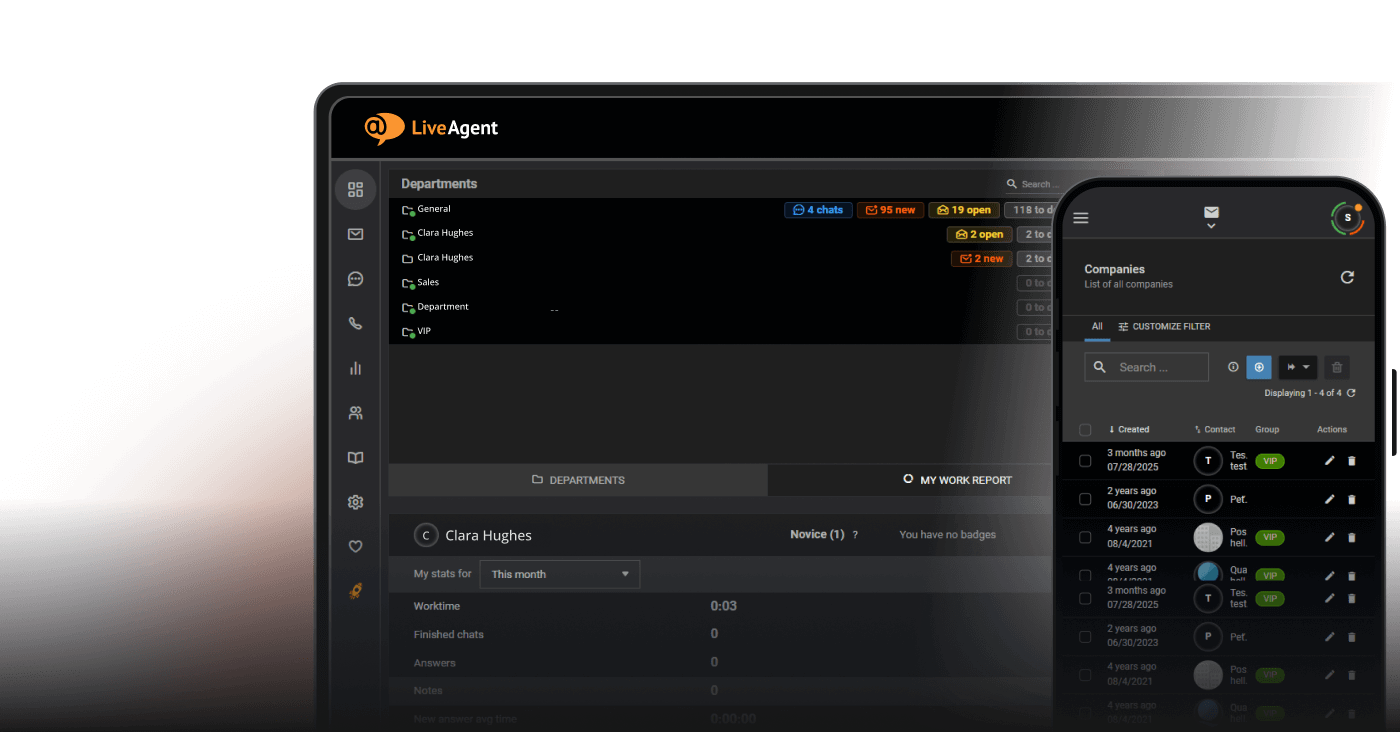
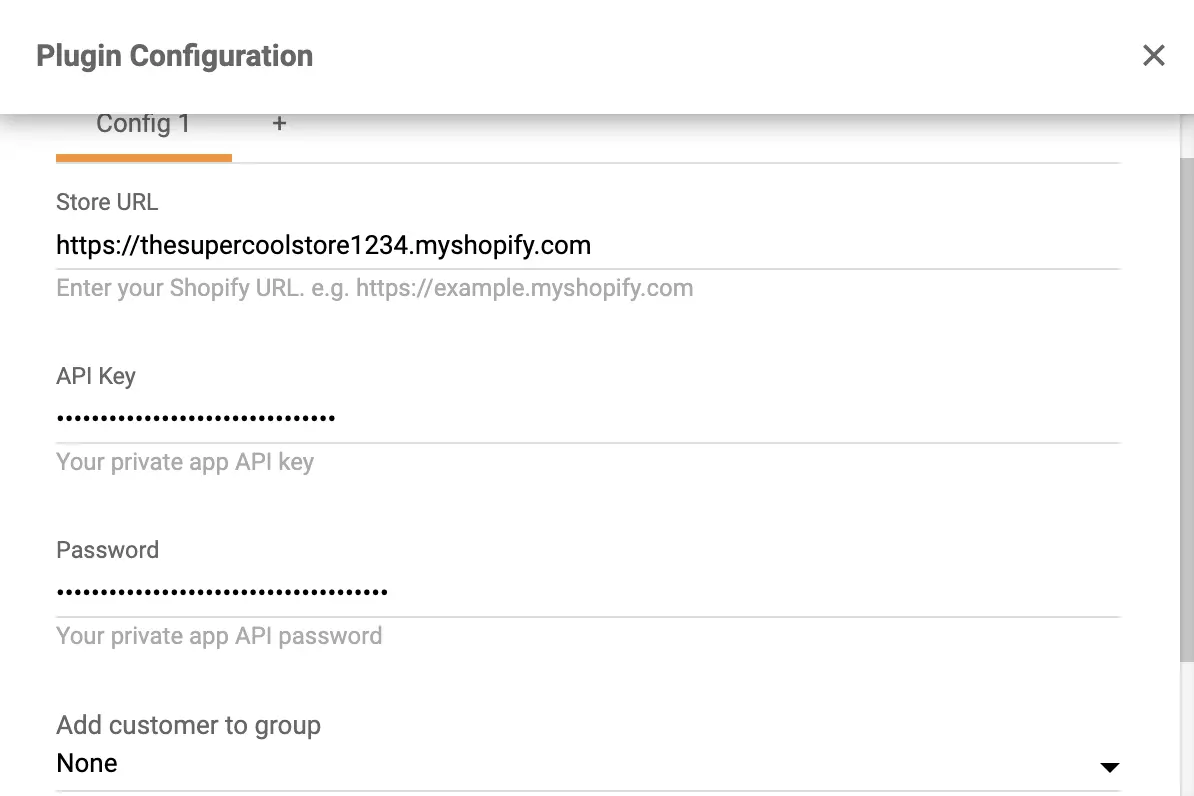
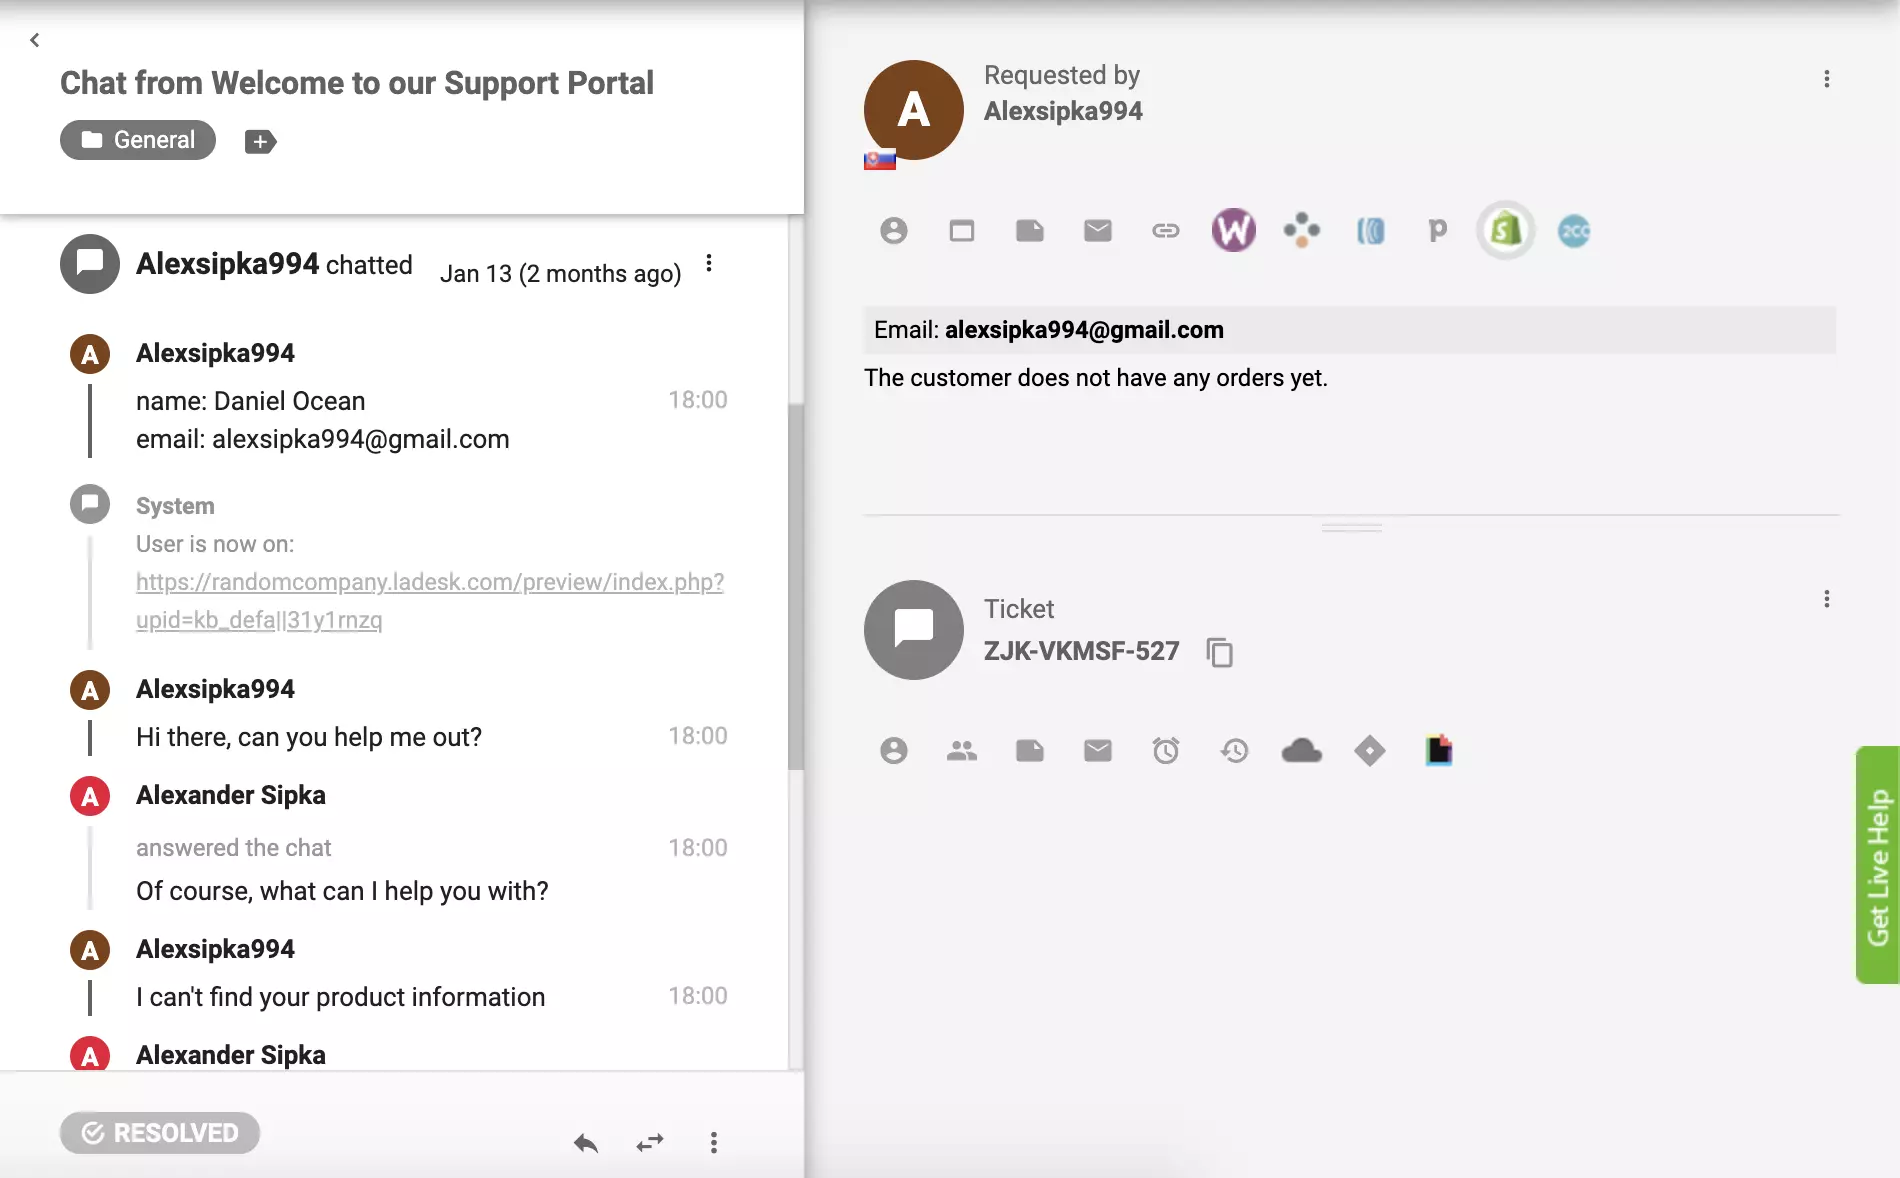
By using this integration you will be able to see your customer’s orders in the ticket detail section of your LiveAgent account. Please follow the integration instructions below to get started.
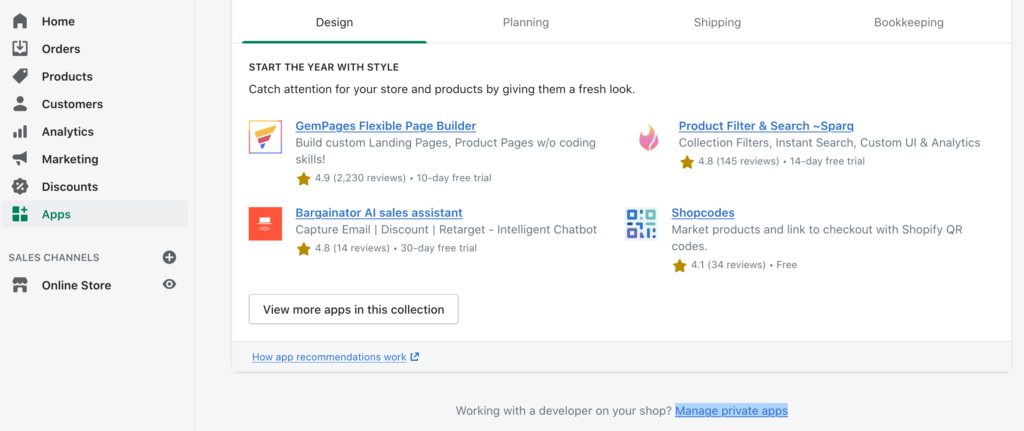
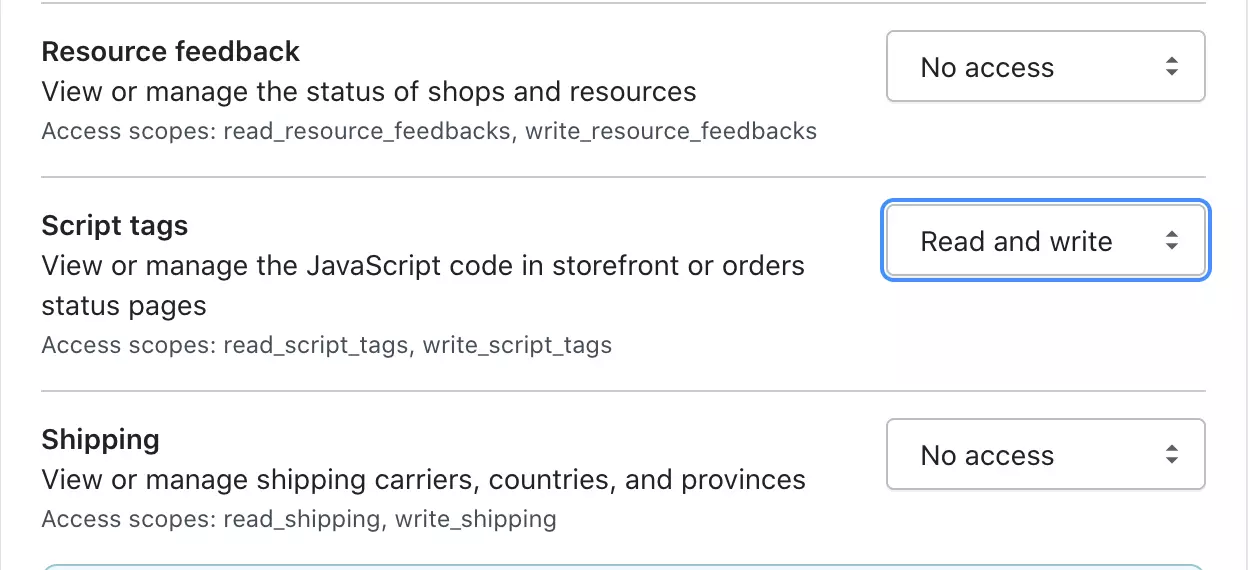
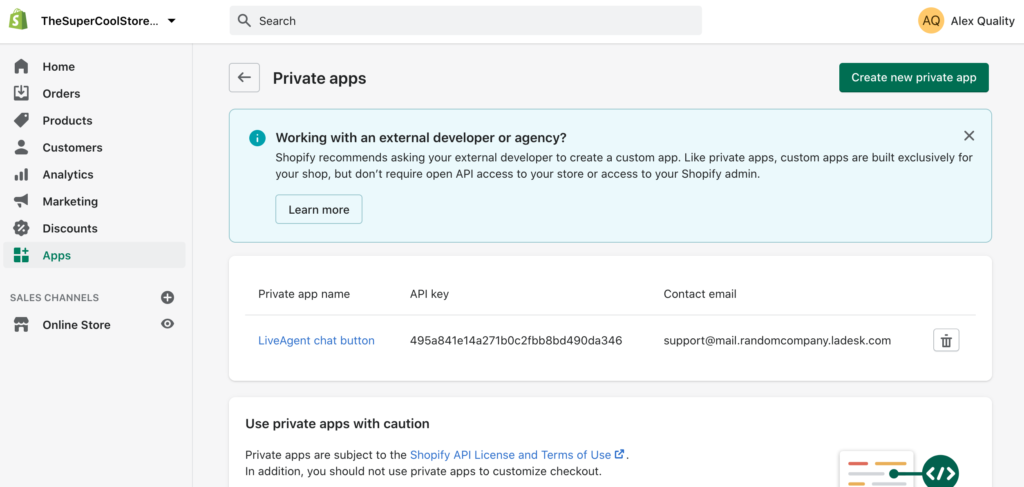
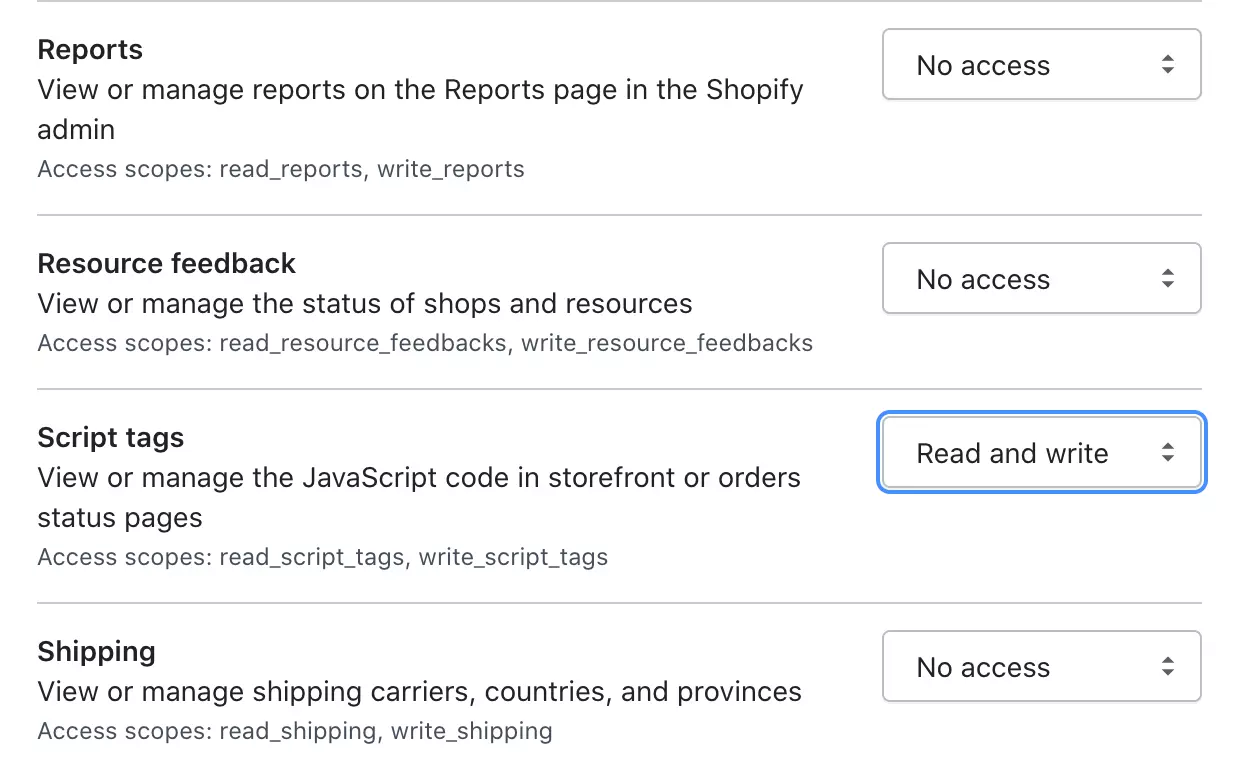
If you don’t have this option available, you need to enable the management of private apps. Click on Manage private apps and then on Enable private app development. Check all the marks and click on Enable private app development. Then you’ll be able to Create a new private app.
Your Shopify plugin should be active. Take a look at some past tickets from your customers and click on the Shopify button in the right panel to see the customer’s orders in the ticket view.
Connecting LiveAgent and Shopify via Zapier is easy, quick, and intuitive. A trigger in one app will activate an action in the other, creating an improved workflow. You can create more than one integration and you can pick and configure them so they work as you want them to. There is no coding experience required for this.
Let’s go through the steps. If you have never created a Zapier integration before, you need to sign up and create a Zapier account. When you’re done, go to the LiveAgent + Shopify integration page on Zapier.
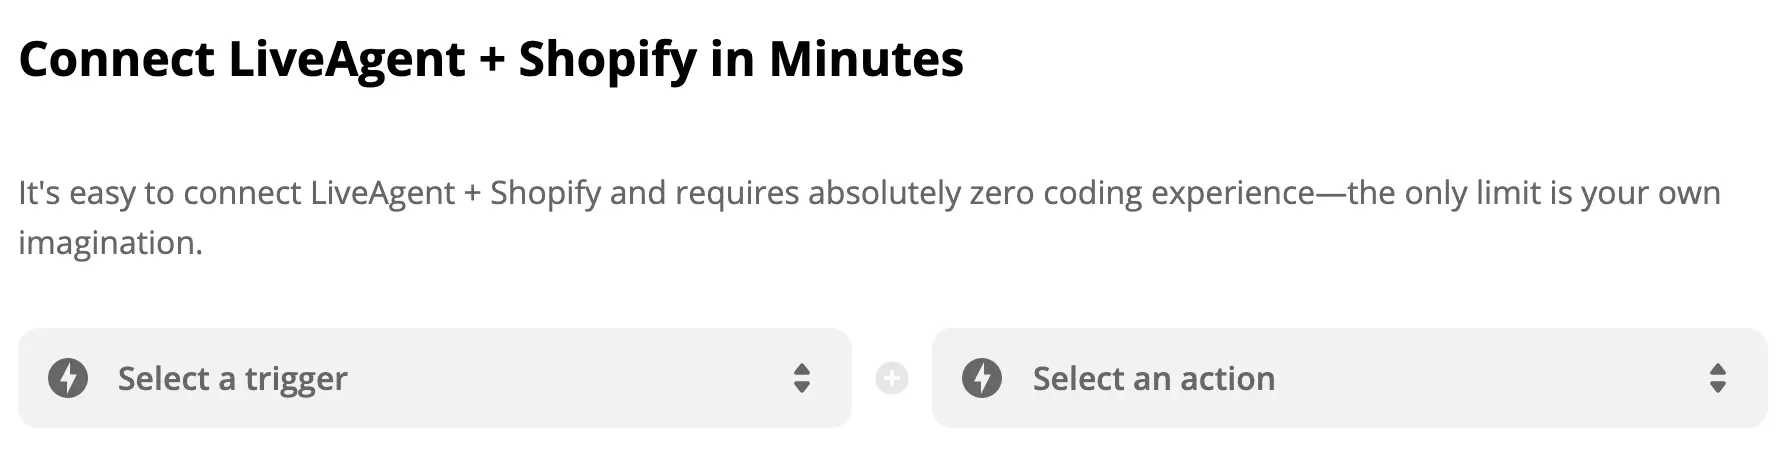
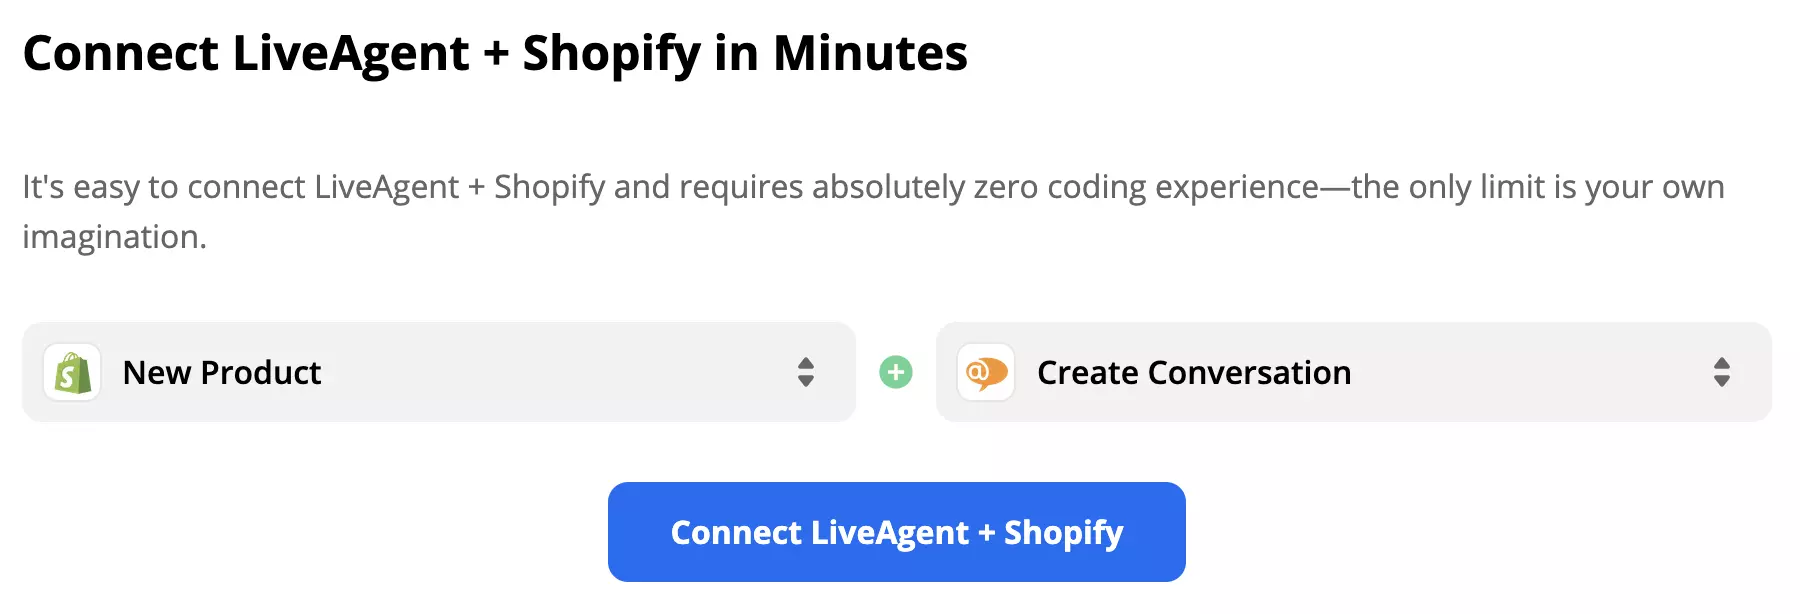
When you scroll down, you can see the Connect LiveAgent + Shopify in minutes section. Here, you can select your desired trigger and action. You can pick anything you want from the list and create a connection. As an example, we’re going to select the Shopify trigger New Product and the LiveAgent action New Conversation. When you’re done, click the blue button underneath.
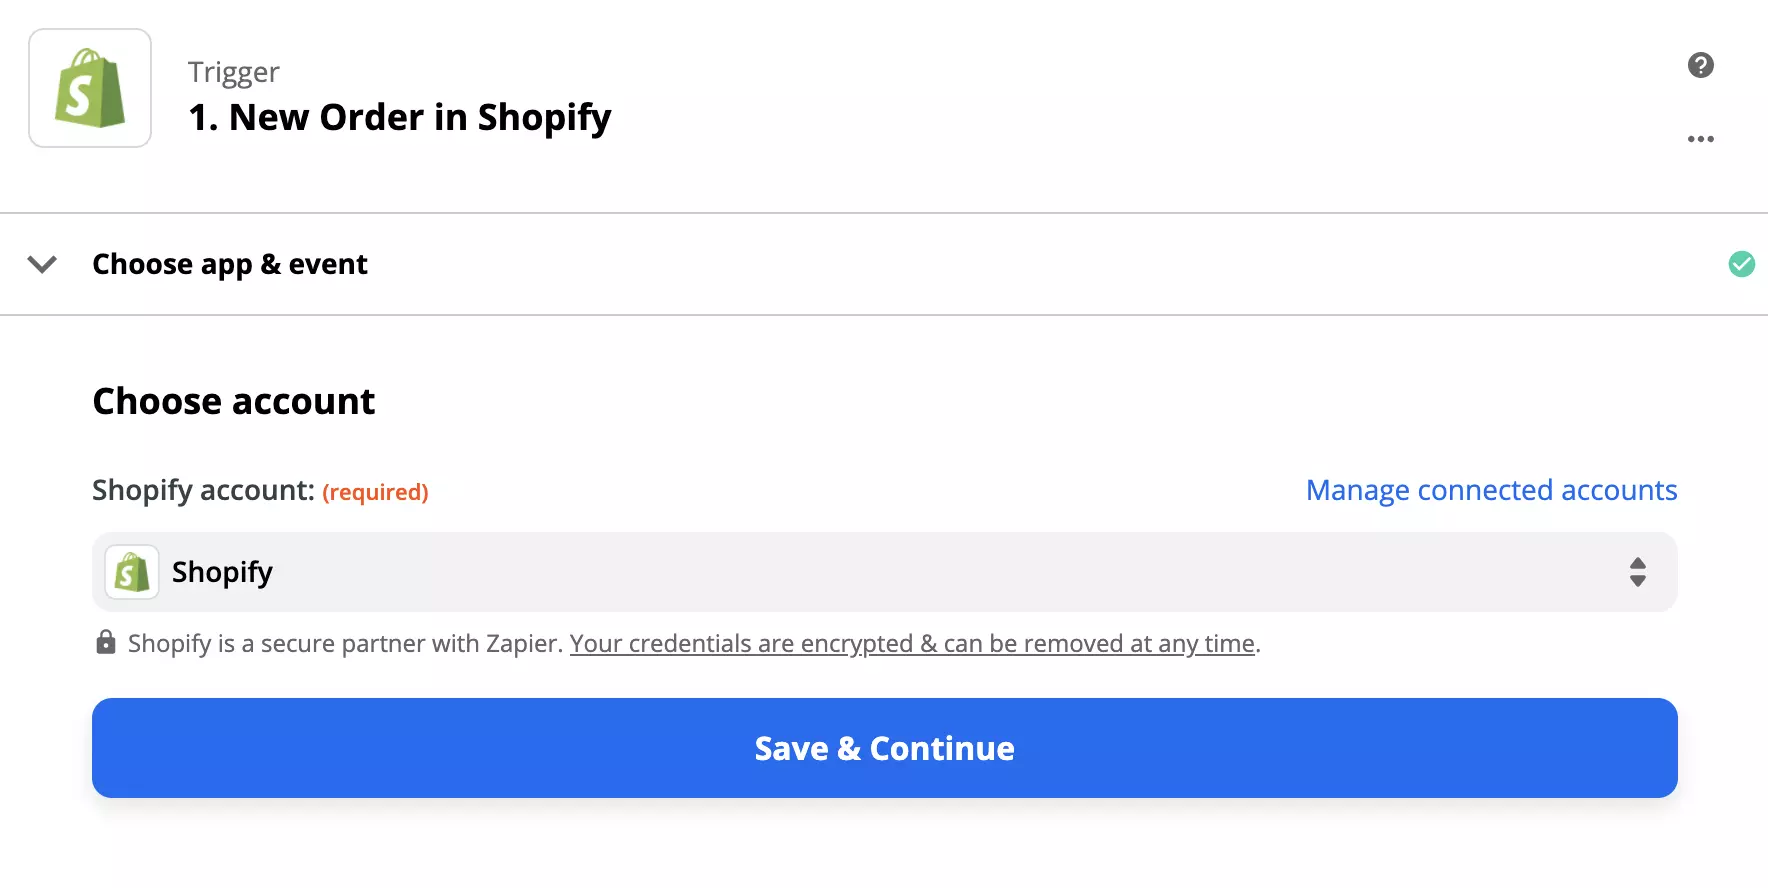
Now, you have to configure your trigger. So go ahead, log into the trigger app account which is Shopify in our case, and start setting the trigger. The process is quite easy and you only need to fill out a few details.
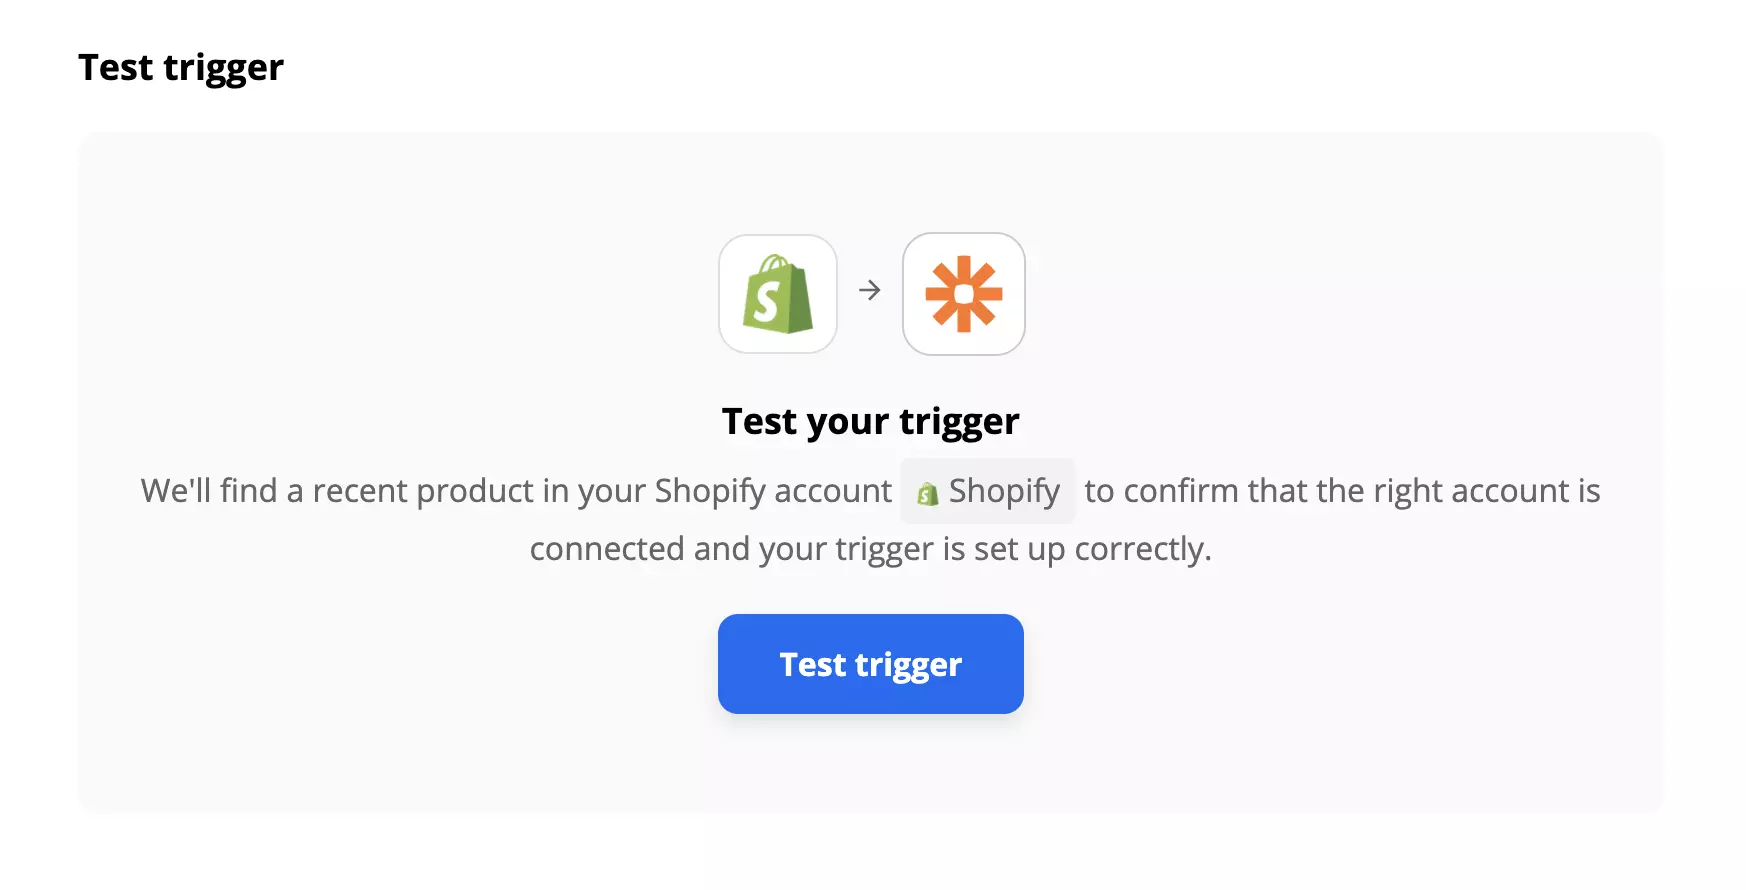
When you’re done, we recommend that you test the trigger to make sure it works as you want it to. This step can be skipped and finished as the last step of the Zapier configuration process.
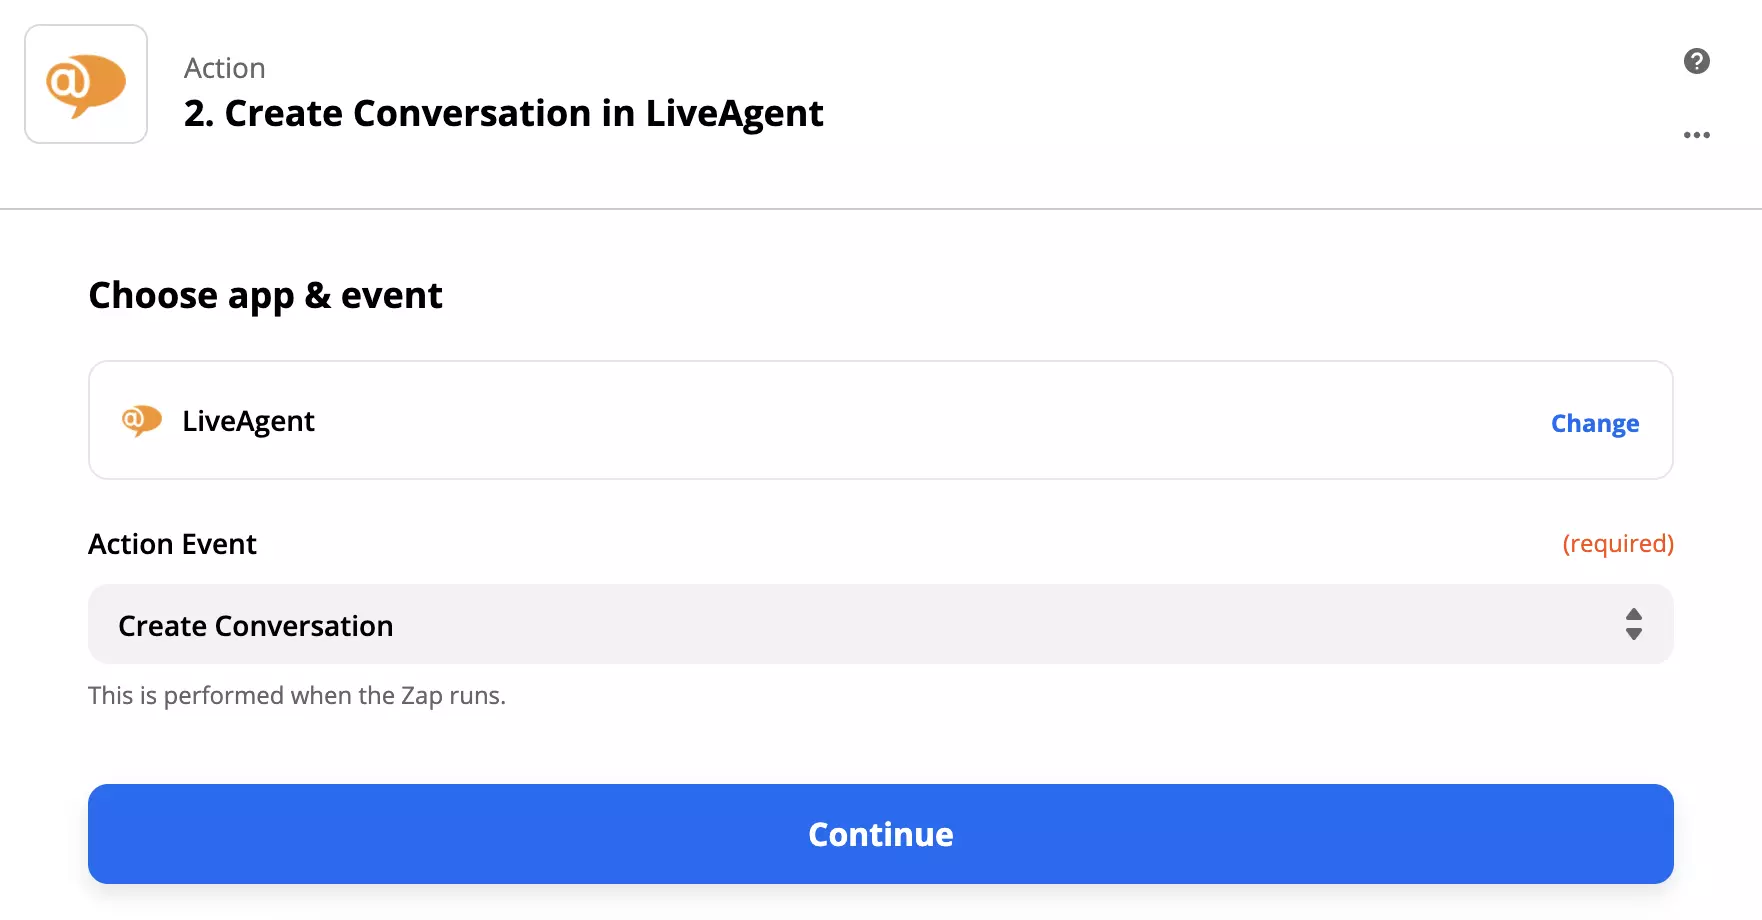
All that’s left to do is to set up your action. Fill out the required fields, such as email. If you want to specify the action further, go ahead and fill out the non-required fields.
When you’re done, do another test of the integration to see if it works. If you run into any trouble, Zapier will usually suggest a troubleshooting option right away so you can easily fix what’s wrong. However, problems with Zapier integrations tend to be rare.
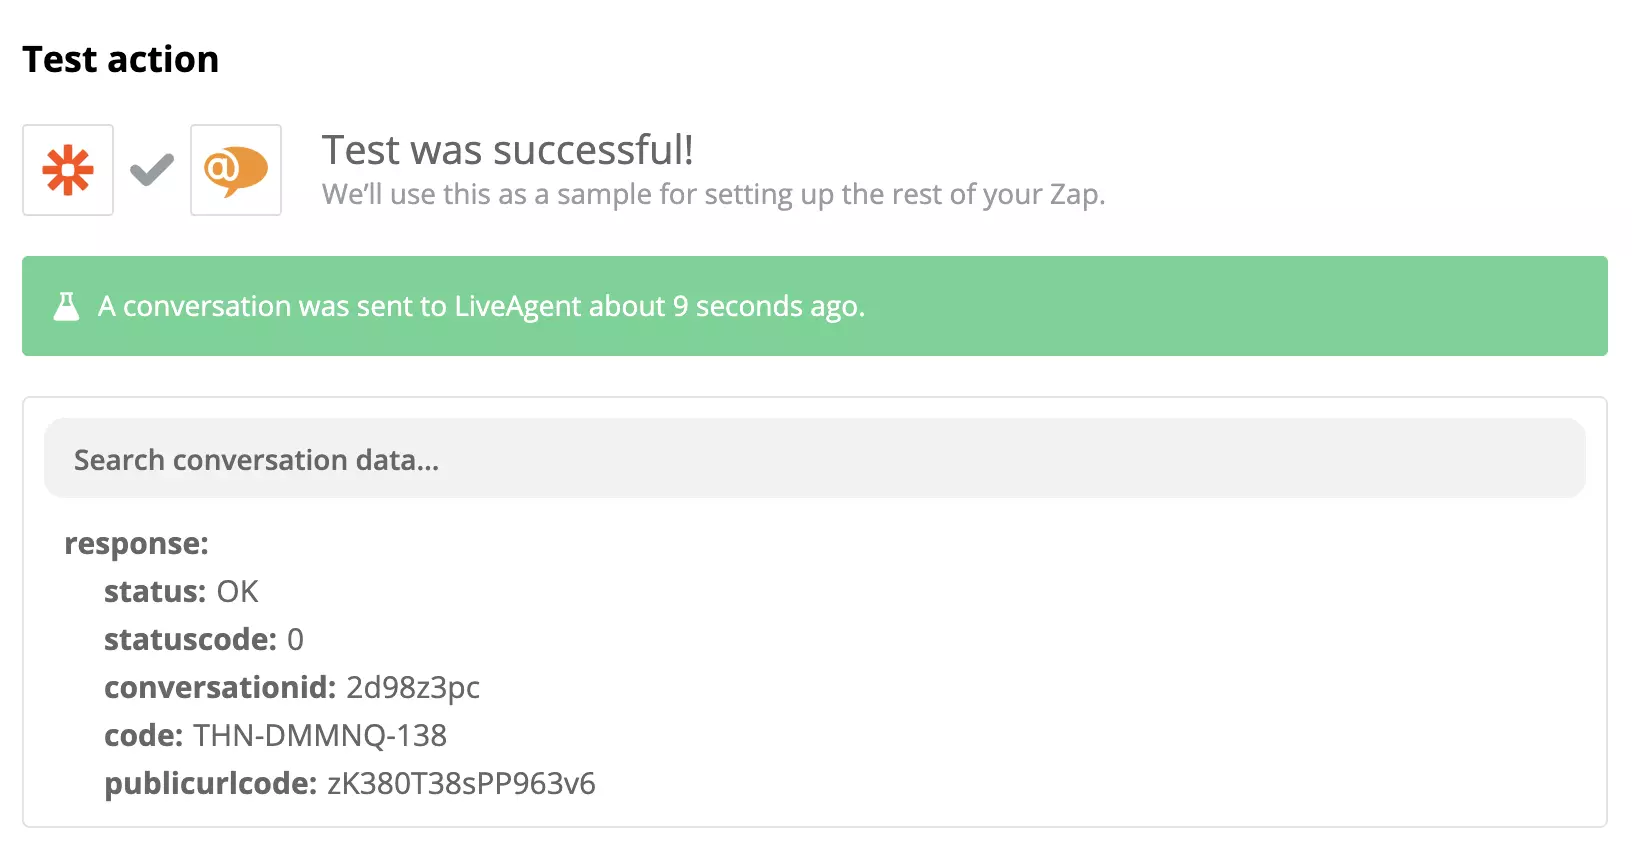
If you successfully completed the previous steps, your integration should be ready to use. Let’s test it out. Go to your Shopify product section.
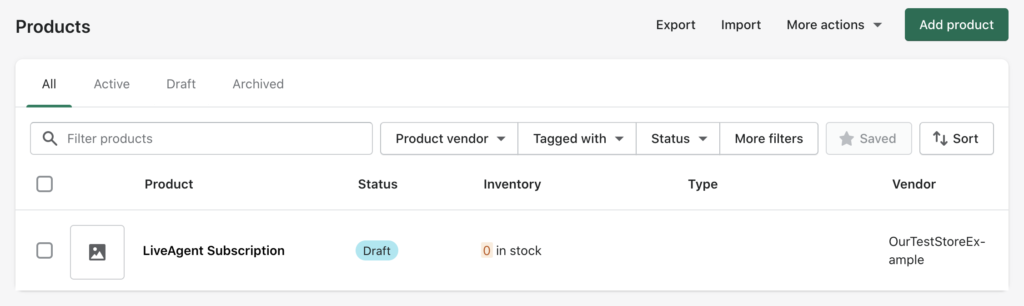
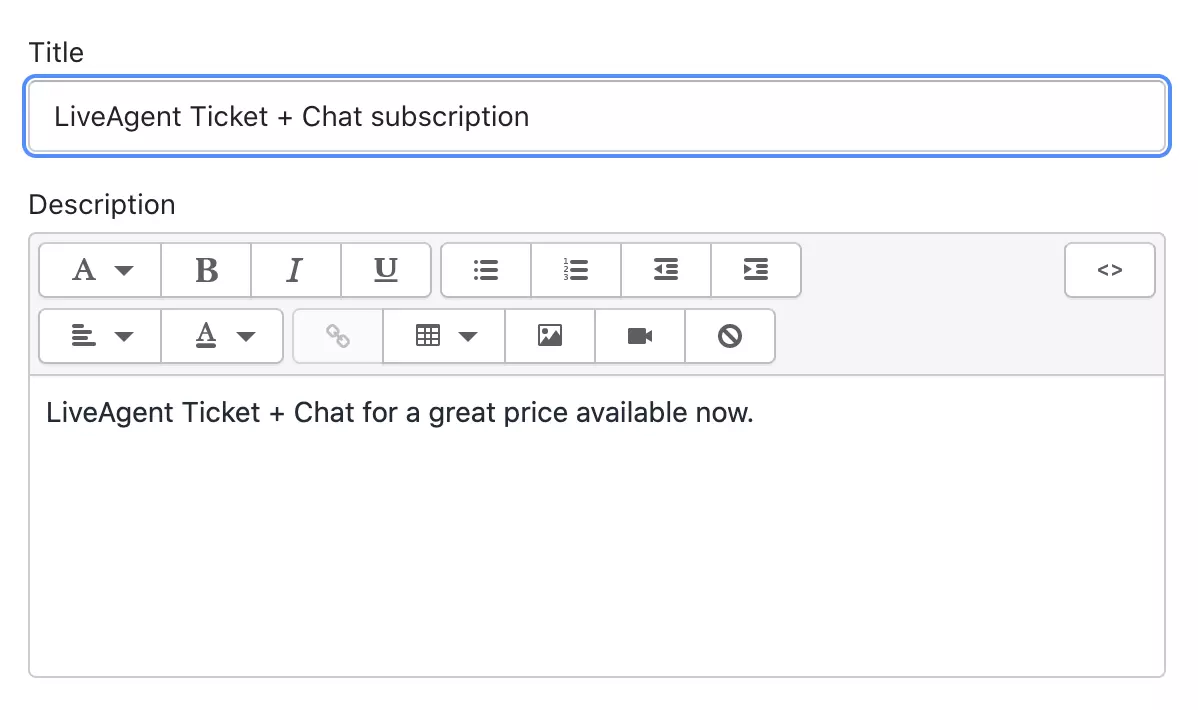
Create a new product and fill out the name and description of the product. This product can be used as a test so you don’t have to go through the lengthy process of filling out every single piece of information.
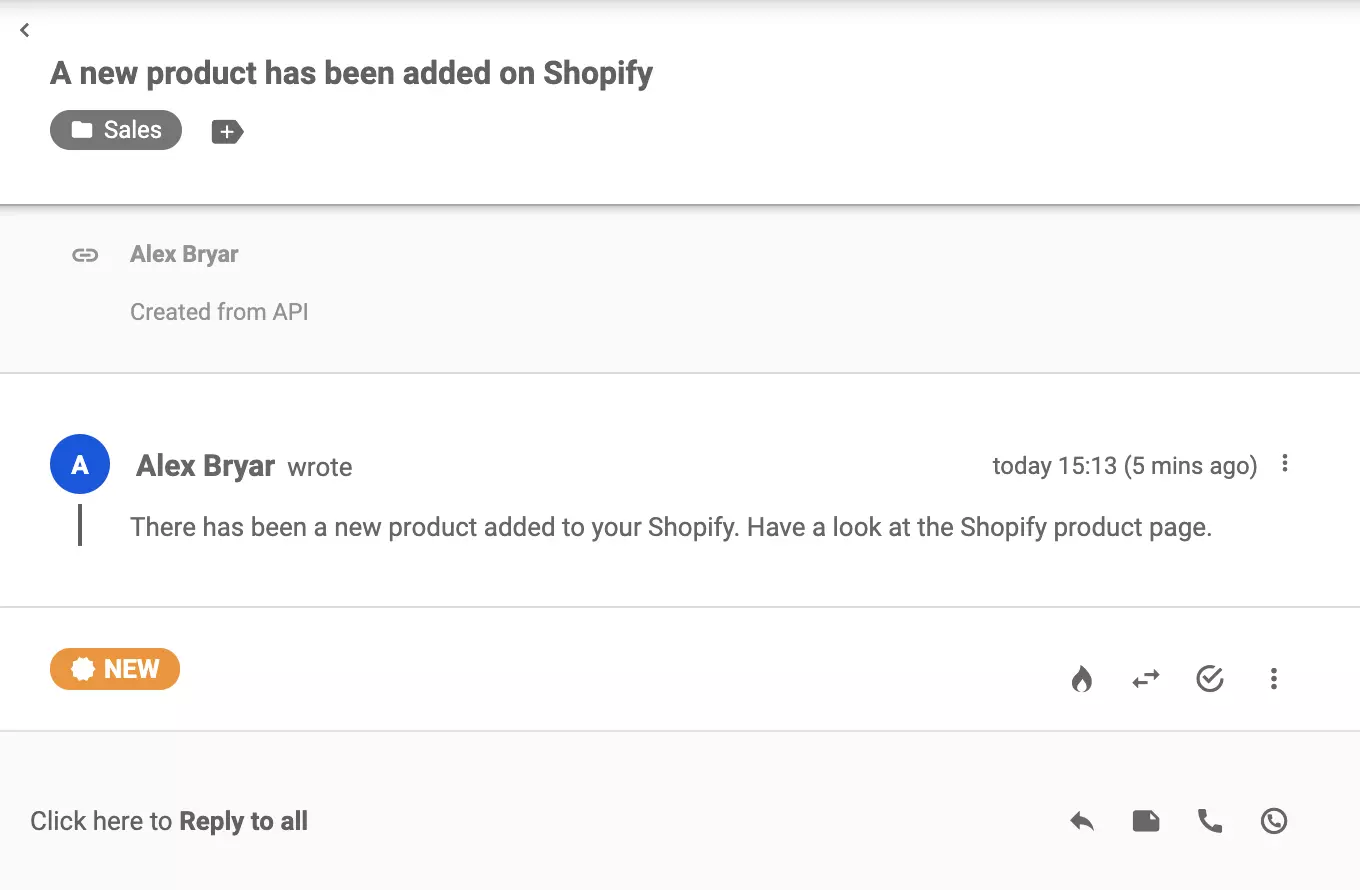
Have a look at your LiveAgent tickets (you should receive a new ticket within seconds.) If everything works, you successfully connected two applications together.
Feel free to check out other features and integrations that can help you with your leads, managing orders, and more. Return to Zapier at any time to create other integrations between LiveAgent and Shopify, or choose another app you want to connect to.
No problem! LiveAgent offers a 30-day free trial where you can test the free Shopify integration!
Integrate LiveAgent's live chat into your Webflow site for real-time customer support, boosting sales. Webflow is a no-code platform for responsive sites. Easil...

Enhance your eCommerce site with LiveAgent's fast live chat and robust knowledge base. Boost customer engagement, satisfaction, and sales with personalized omni...
Wix is a website builder offering templates and widgets. Integrating LiveAgent with Wix lets businesses add live chat buttons for improved customer support, enh...
Join our community of happy clients and provide excellent customer support with LiveAgent.